The Samsung Galaxy Z Fold 4 may not be a radical improvement over its predecessor but it brings a lot of subtle yet meaningful upgrades to the table. The camera array on the Galaxy Z Fold 4 is finally on-par with other flagship devices on the market. It’s still catching up to what the rest of Samsung’s flagships offer, but it’s a welcoming change. It essentially matches the camera array on the Galaxy S22, meaning it can capture some stunning photos and videos. It offers a lot of versatility with its software too. If you’re wondering what it is like to use the Galaxy Z Fold 4 cameras and the software then you’ve come to the right place. From Expert RAW to a bunch of different shooting modes within the stock camera app, here’s everything you can expect to see while taking pictures and recording videos with the Galaxy Z Fold 4:
Navigate this article:
Samsung Galaxy Z Fold 4: Camera Hardware
The Galaxy Z Fold 4 borrows the same camera system as the Galaxy S22 Plus to deliver a flagship-grade experience. The main camera is a 50MP sensor with an f/1.8 lens and optical stabilization. It’s not up to the level of the main sensor on the Galaxy S22 Ultra, but it should be a noticeable improvement over the Galaxy Z Fold 3. The 10MP telephoto lens offers up to 3x optical zoom and 30x Space zoom, which is once again better than what we got last year with the Galaxy Z Fold 3. Lastly, there’s the 12MP ultra-wide camera that we’ve already seen on other Samsung flagships. It has an f/2.2 aperture, a 123-degree field of view, and a 1.12µm pixel size with which it produces some solid results with a lot of details.

The Samsung Galaxy Z Fold 4 also comes with two camera sensors for selfies. There’s a 10MP shooter on the cover display and a 4MP under-display camera (or UDC) that’s hidden under the main screen. The company has masked the UDC better this time around by arranging more pixels on top of it. You won’t really notice it unless you’re specifically looking for it. The quality of this 4MP UDC, however, is still not that great. It will do in a pinch for video calls, but we suggest you turn to the other 10MP sensor on the cover display for selfies. Alternatively, you can also unfold the phone and use the cover display as the viewfinder to snap selfies using the main camera system at the back. It works very well and I’ll show you how to do it in the following sections.
You can take a look at some camera samples captured using this phone in our Galaxy Z Fold 4 review that’s linked earlier in this article. With that out of the way, let’s take a look at the camera features and different shooting modes offered by the Galaxy Z Fold 4.
Samsung One UI stock camera app is packed with features
The Samsung Galaxy Z Fold 4 comes with the same stock camera app that you get on the other Galaxy devices with the OneUI software. It scales very well to take advantage of the bigger main display on this phone so I recommend you open the display to frame your shots or explore the options unless you’re rushing to capture an unmissable moment. The stock camera app comes with a lot of different functions and modes to choose from. I’ve set the app to default to the “Photo” mode every time I relaunch it to frame my shots from scratch. Other modes including portrait and video show up at the bottom along with a “More” button that lets you see other modes.
One of the best things about the Samsung camera app is that you can also drag and drop these modes or rearrange the position of the existing ones according to your preference. A lot of other camera apps on the market don’t let you do this, so I am glad to see Samsung putting more thought into its features to allow customization.
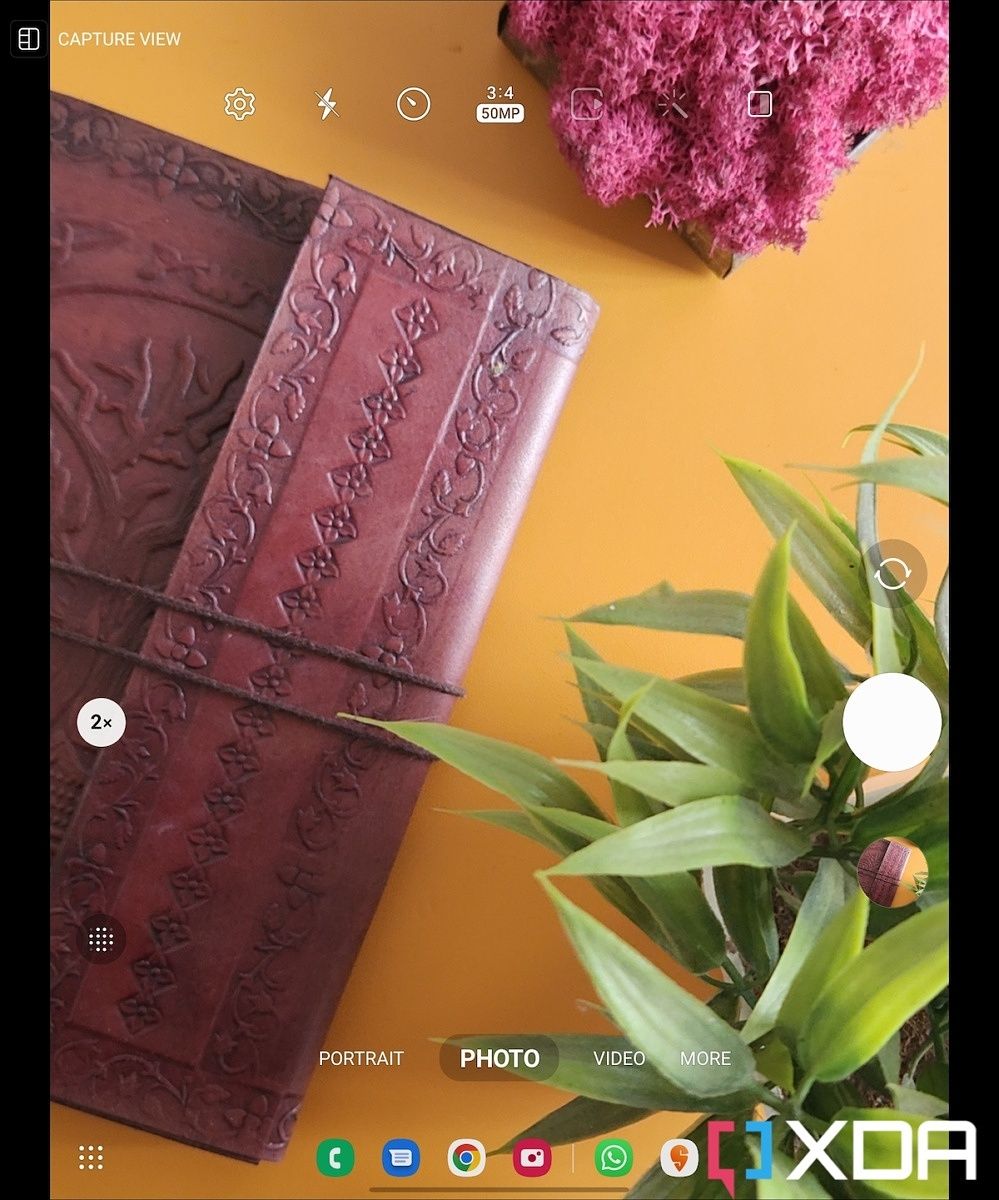
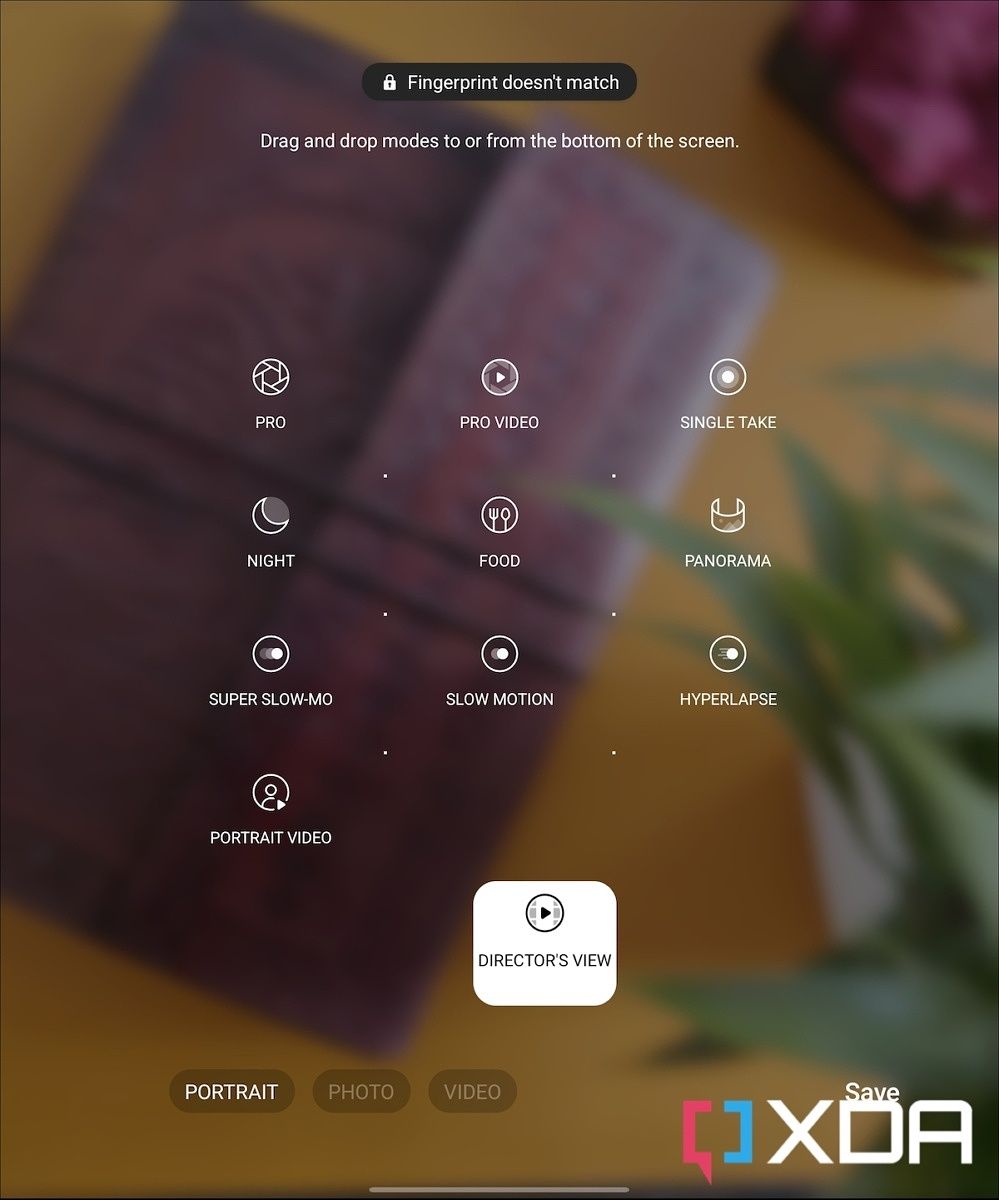
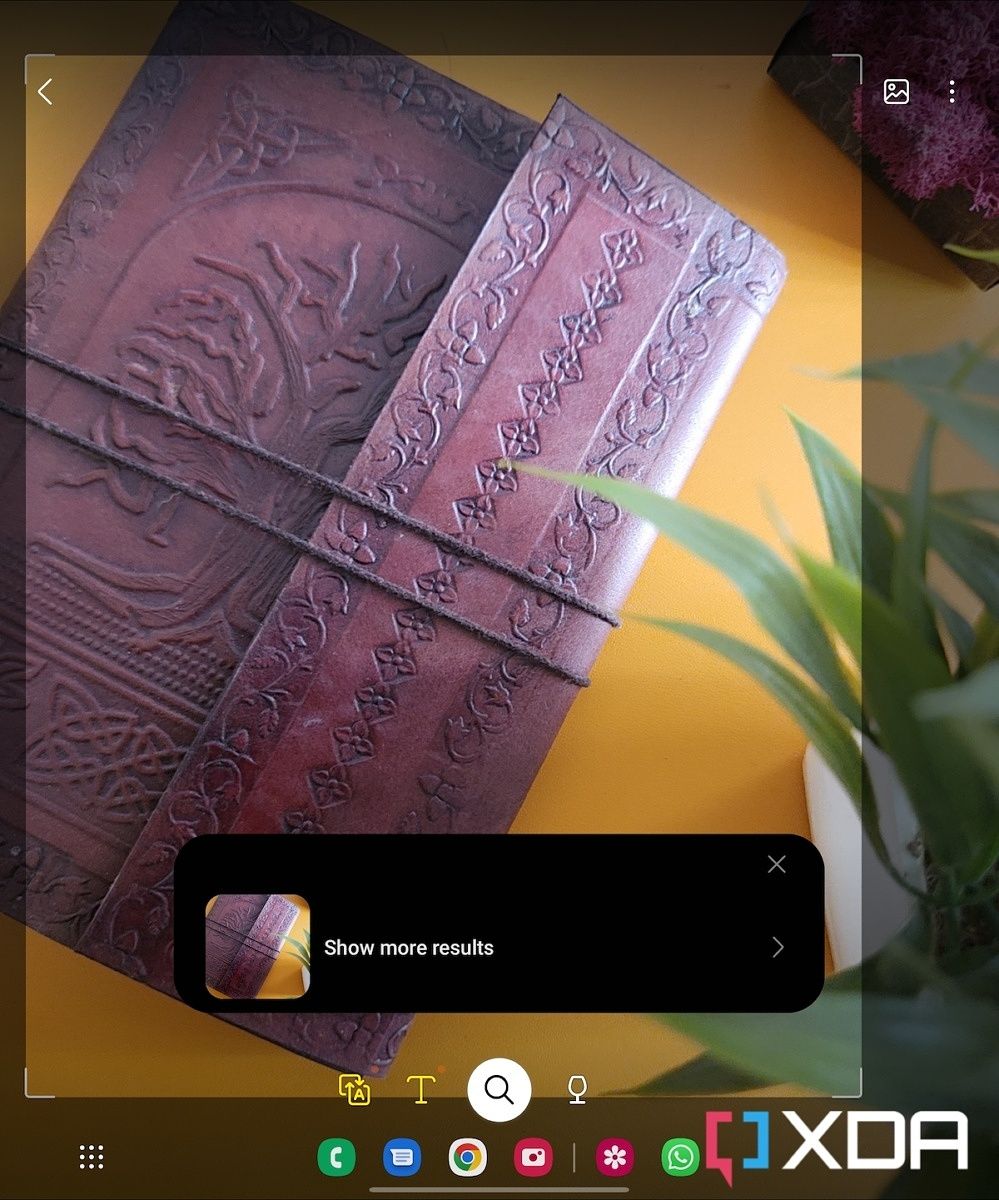
Let’s take a quick look at some of the camera settings that you may want to explore on the Galaxy Z Fold 4 before starting to shoot with it. You can access the camera settings page by choosing the Setting cog on the top of the viewfinder. The options here are very similar to the ones you get on the Galaxy S22 series. They are a lot of options to explore but Samsung also gives you a quick summary of each option to help you get a better understanding of what they do before you can toggle them on or off.
In my case, as you can see, I’ve enabled the Scan QR option which is something I used a lot even on the Galaxy S22. With this, you can simply open the camera app and scan any QR code without having to download or look for a dedicated app to do just that. I also recommend checking out the “Settings to keep” option in which you can tell your phone to remember some of the previously used settings within the camera app.

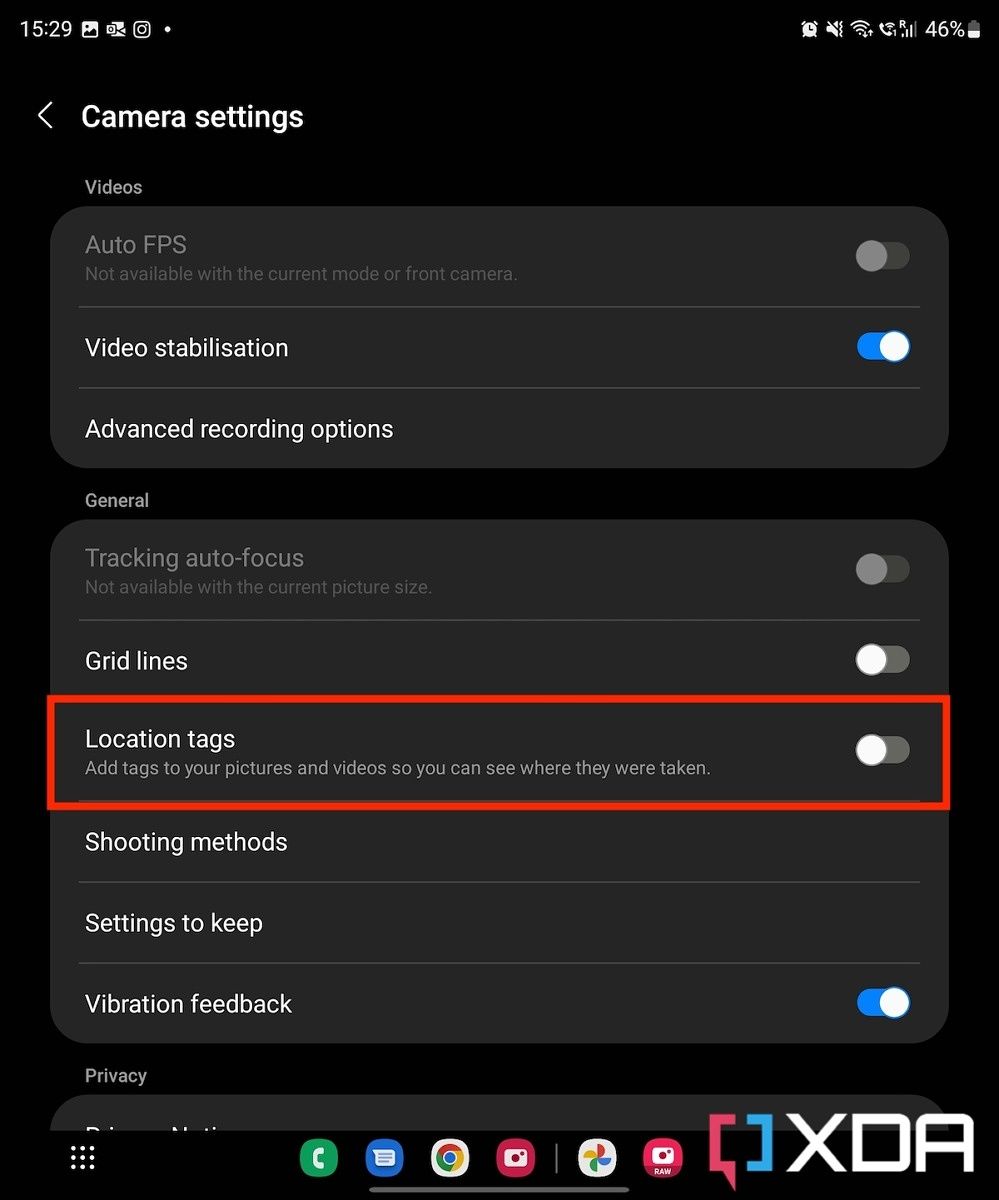
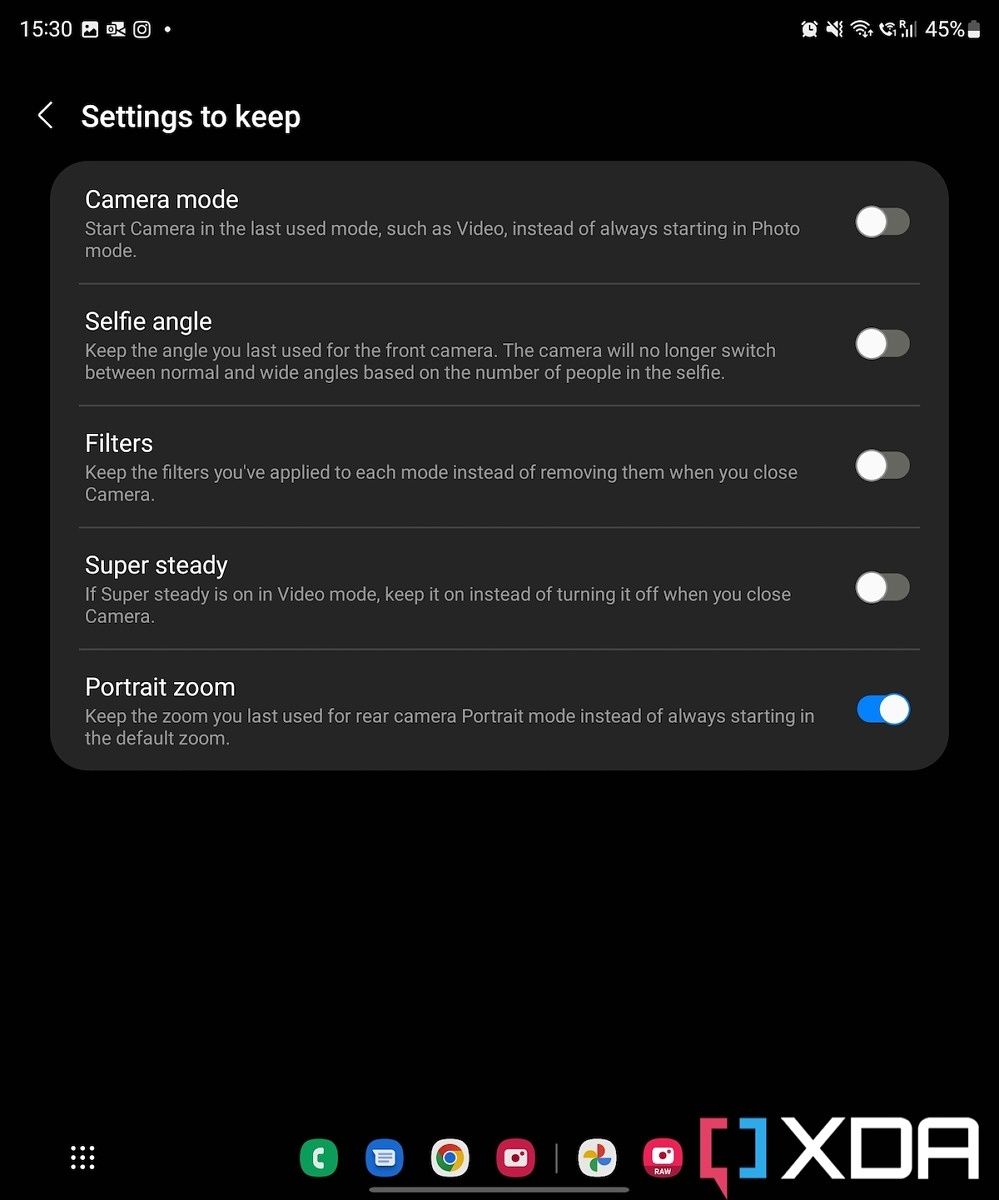
Additionally, you can also disable the “Location tags” option if you don’t want the phone to add the location information to the metadata. Regardless of your saved preference for the location data, we suggest you strip the EXIF data from your images before sharing them online. You can check out our detailed guide explaining how to remove EXIF data to learn more about it. There are a lot of other options to explore, so be sure to take a good look at them before you begin shooting with the Galaxy Z Fold 4.
Samsung Galaxy Z Fold 4 offers a lot of shooting modes

The Galaxy Z Fold 4 has a ton of different camera modes to shoot with. Here’s a quick rundown of some of the modes that you can use other than the usual photo, video, and portrait modes:
‘Pro’ and ‘Pro Video’ modes: These modes, as the names suggest, will give you more granular controls for taking photos and recording videos, respectively.
Portrait video: This one’s just a portrait mode for videos. It lets you set your focus on any subject in the scene and adds a soft focus on the rest to give a cinematic look to the video. It’s similar to what Apple is trying to achieve with its Cinematic mode on the iPhone 13 Pro. But it’s not as reliable so I suggest sticking to the regular or the ‘Pro Video’ mode for videos on this phone for now.
Night: The night mode, as you probably already know, will allow you to capture better-looking photos during the night when there’s not enough light in the scene. I noticed that the Galaxy Z Fold 4 automatically shows a night mode button on the main photo mode when there’s not enough light.
Food: This is one of my favorite modes as it allows you to capture some great-looking photos of the food that you’re eating. It allows you to add a blur effect around the food and even lets you adjust the color temperature of the image before capturing it.
Panorama: The Panorama mode has been around for quite some time now and it allows you to pan across the frame to capture a wider perspective. The Galaxy Z Fold 4 will automatically switch to the ultra-wide lens as soon as you enter this particular mode.
Hyperlapse: Just like the Galaxy S22, the Galaxy Z Fold 4 also gives you some good options in the Hyperlapse mode. You can record in either FHD or UHD resolution and use either the main or the ultra-wide camera. You also get an option to select the speed of the recording, which is quite handy.
Before we move on to the next section, I want to highlight the Galaxy Z Fold 4 exclusive feature that lets you use the rear cameras to take selfies. The outer screen becomes your viewfinder in this mode and lets you frame your selfies very easily. This is what I use to capture selfies on the Galaxy Z Fold 4 as the main cameras are significantly better than both selfie shooters on this phone. Just note that your phone will remain unfolded for this to work, meaning you’ll have to be more careful not to drop it because, you know, there’s a good chance it’ll break or get scuffed if it falls flat.
Even if you managed to grab one of the best deals for it, there’s no denying that the Galaxy Z Fold 4 is one of the most expensive phones out there. So keeps your hands steady. In fact, I wasn’t very confident while using this mode to grab a selfie when I didn’t have a case on the device. I highly recommend picking up one of the best cases for it to get a much better grip on the phone for this.

Samsung Galaxy Z Fold 4’s ‘Cover screen preview’ feature
You can enable this mode by tapping on the ‘Cover Screen Preview’ button on the top. Here, I’ve highlighted it in the screenshot below:

Expert RAW camera app works on the Galaxy Z Fold 4 too
Samsung’s Expert RAW camera app is also available for the Galaxy Z Fold 4. You can download it from Samsung’s Galaxy Store provided you have a Samsung account set up on the device. This particular camera app, for those that don’t know, is the company’s advanced camera app that’s targeted at professional users who know their way around cameras and different options to tweak an image while capturing. You don’t get any exclusive features for the Galaxy Z Fold 4 on this app, meaning it offers the same set of features found on other flagship devices including the ability to shoot RAW images, more granular control, and more.

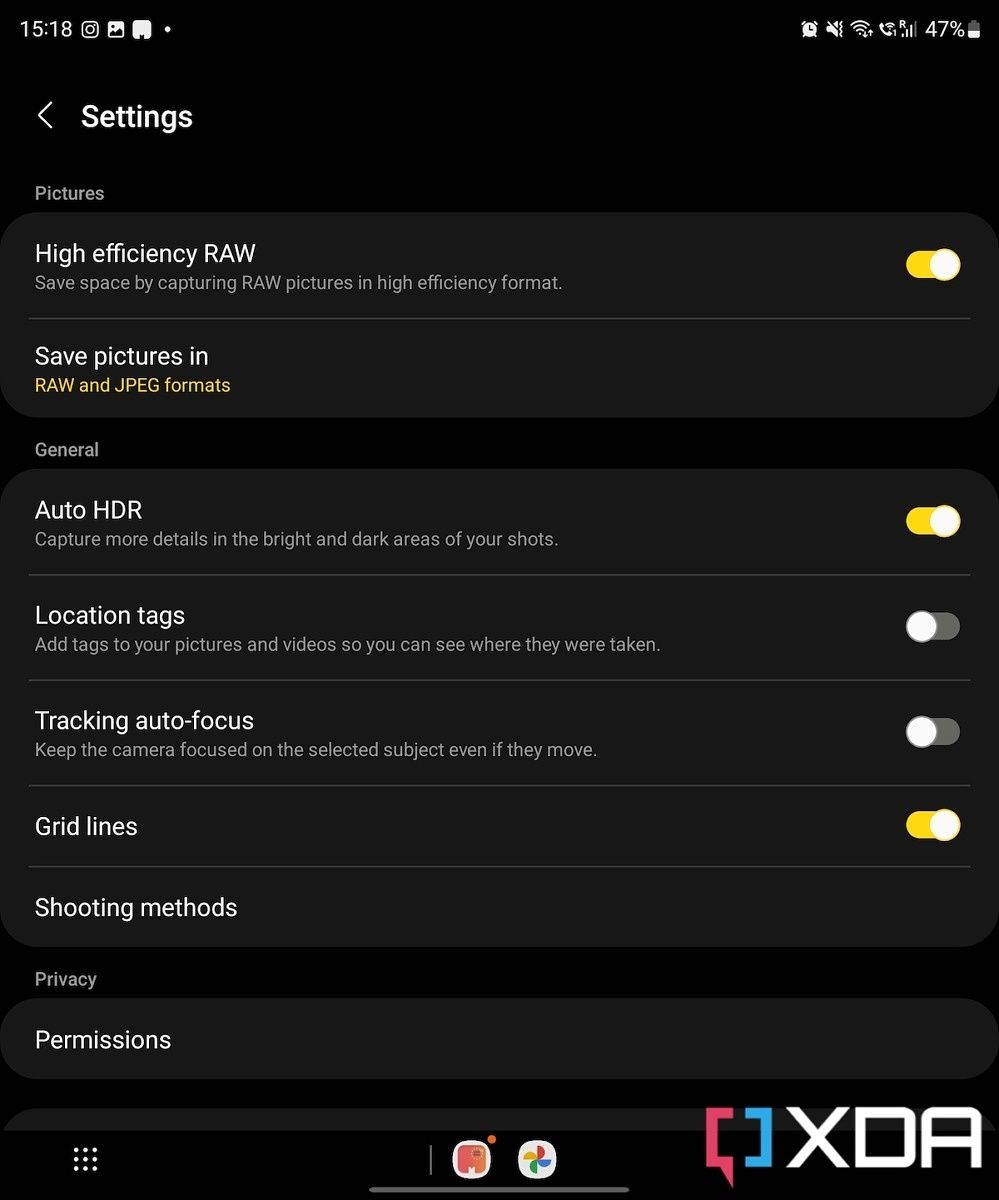
According to Samsung, the Expert RAW camera app adds a wider dynamic range to add more details to the images. That’s good for those who want to preserve as much as RAW details of an image as possible for future edits. The resulting images, however, are 16-bit RAW files that can take up as much as 30MB a piece on your phone.
The Expert RAW camera app only lets you take photos. So you can’t use this app to capture portraits, night shots, selfies, and even videos. It’s very limiting unless you are a professional photographer wanting to shoot RAW photos from your smartphone for post-processing possibilities. I am not a huge fan of capturing RAW photos mainly because I don’t plan on making powerful edits to my images after the fact. It is available for free of cost, so feel free to download it and play around with the settings to get used to shooting in manual mode.
Closing Thoughts
Well, that brings us to the end of this Samsung Galaxy Z Fold 4 camera walkthrough. I hope you find this guide useful if you’re new to the world of flagship phones and find all the camera settings a bit too overwhelming. The Galaxy Z Fold 4 offers a powerful set of cameras that allows you to capture some impressive photos. Samsung’s stock camera app that ships with OneUI is one of the best options out there. It should be enough for most users as it offers all the essential tools that you’d need to capture good photos and videos.
- The Samsung Galaxy Z Fold 4's triple camera setup works well with OneUI's stock camera app to deliver some solid results.
So which Samsung Galaxy Z Fold 4 camera mode are you planning to explore first? Let us know by dropping a line in the comments below. I’ve been using this phone as my daily driver for the last couple of weeks and trying out new features. The phone offers a great user experience out of the box but I encourage you to check out our collection of the best chargers and accessories to pair with the Galaxy Z Fold 4. I can personally vouch for a lot of items mentioned in that collection and I am sure they’ll improve your experience overall.
The post Samsung Galaxy Z Fold 4 Camera Walkthrough: Expert RAW, different shooting modes, and more appeared first on XDA.
from XDA https://ift.tt/wmasqTO
via IFTTT


Aucun commentaire:
Enregistrer un commentaire